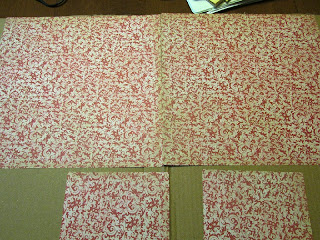
First you will need a big cardboard box or one of those cardboard display boards for school projects works nice too.
One big cardboard box will make two rooms. I just cut the tabs off and cut the box in half lengthwise.
Then once I have my cardboard box cut, (it would probably be easier if you just used a cardboard display then you wouldn't have to cut it) I can choose some pretty pieces of scrapbook paper to use as wallpaper. You could also cover it with some Contact paper if you like.
After I chose my paper, I can piece it together on my cardboard and glue it on with a glue stick. Make sure that the edges are glued down real good.
Next, I put a coordinating piece of scrapbook paper on the bottom half and glued it down. Then I made a little window at the top. I cut a scene out of a magazine and used a piece of construction paper as the window pane. I found that the magazine Southern Living has a lot of good pictures for scenery.
 | ||
| Here's an example of the background that I made. |
 |
| And here is one of the sets that I made being used as a doll room. |


No comments:
Post a Comment